How to Build Your Own Carpenter Bee Trap in 5 Easy Steps
Carpenter bees can be a nuisance for homeowners, causing damage to wooden structures and creating unsightly holes in outdoor spaces. Understanding these pests and how to effectively manage them is essential for maintaining a harmonious environment. In this guide, we will explore the process of building your own carpenter bee trap in five easy steps. By creating a trap tailored to these specific insects, you can protect your property and deter unwanted intruders in a simple and environmentally friendly manner.
1. Introduction to Carpenter Bees
Overview of Carpenter Bees
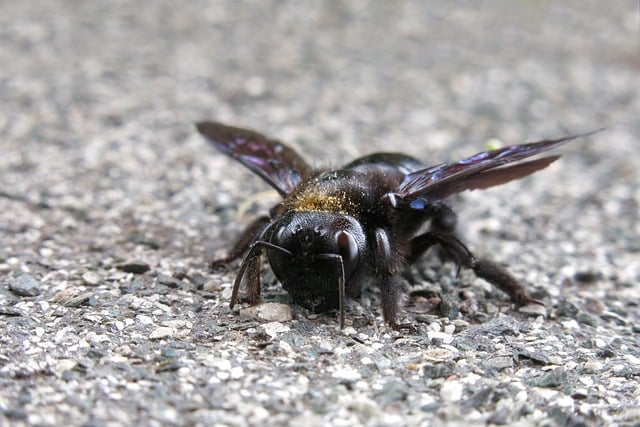
Ah, yes, the not-so-welcome guests of the woodwork world – carpenter bees. These industrious insects may look harmless with their fuzzy little bodies, but their drilling habits can wreak havoc on your wooden structures. Let’s dive into what makes these buzzing buddies tick.
2. Understanding the Importance of Carpenter Bee Traps
Threats Posed by Carpenter Bees
Carpenter bees may not be as menacing as their stingy relatives, but their penchant for burrowing into wood can lead to structural damage over time. That’s where the trusty carpenter bee trap comes into play, offering a non-toxic and DIY solution to keep these drill-happy insects at bay.
3. Materials Needed for Building a Carpenter Bee Trap
Essential Tools and Supplies
Before you embark on your carpenter bee trapping journey, gather up your tools of the trade. From basic carpentry tools to some simple supplies, here’s what you’ll need to construct your very own bee eviction device.
4. Step-by-Step Guide to Constructing the Trap
Preparing the Trap Components
Assembling the Trap
It’s time to roll up your sleeves and get crafty. Follow these five easy steps to create a buzzing success of a carpenter bee trap. From prepping the components to putting it all together, you’ll be one step closer to enjoying a carpenter bee-free zone in no time. Let’s trap those drillers!
5. Placement and Maintenance of Carpenter Bee Traps
Optimal Locations for Trap Placement
When setting up your carpenter bee trap, aim for placing it in areas where carpenter bees are most active. This includes near wooden structures like fences, decks, or eaves where these buzzers like to hang out.
Regular Maintenance and Inspection
To keep your carpenter bee trap working effectively, make sure to regularly check and empty it of captured bees. Clean out any debris or blockages to ensure the trap remains efficient in catching more bees.
6. Tips for Enhancing Trap Effectiveness
Using Attractants
Consider adding some extra allure to your carpenter bee trap by using attractants like bee pheromones or a dab of honey near the entrance. This can entice the bees to investigate and enter the trap more readily.
Optimizing Trap Placement
Experiment with different trap placements to see where carpenter bees are most active in your yard. Moving the trap around to new locations can help increase its effectiveness in catching these pesky wood-drillers.
7. Benefits of Using Homemade Carpenter Bee Traps
Using homemade carpenter bee traps not only helps in controlling these destructive insects but also provides a budget-friendly and eco-conscious solution. Plus, there’s a sense of satisfaction in DIY-ing your way to a bee-free zone!By following the steps outlined in this guide and implementing your homemade carpenter bee trap, you can take proactive measures to address carpenter bee infestations effectively. Remember to place and maintain your trap strategically to maximize its effectiveness in keeping these pests at bay. With a little effort and the right tools, you can enjoy a carpenter bee-free environment and preserve the integrity of your wooden structures for years to come.
FAQs
1. How do carpenter bee traps work?
2. Can I use natural bait in my carpenter bee trap?
3. How often should I check and empty the trap?